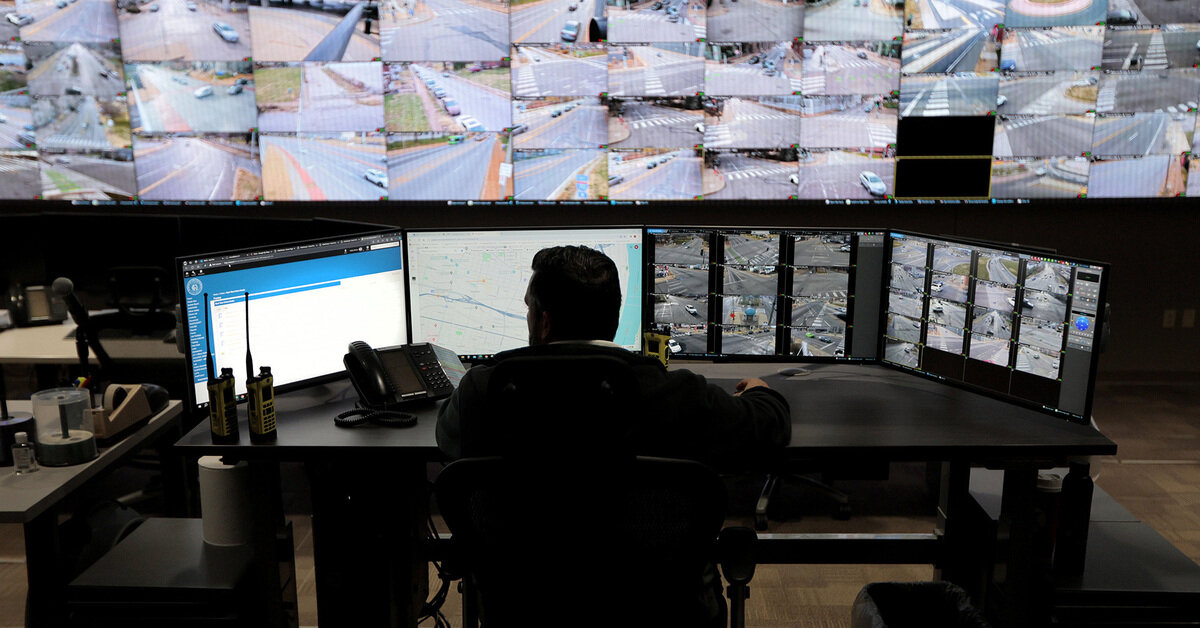
Private security footage is nothing new to criminal investigations, but two factors are rapidly changing the landscape: huge growth in the number of devices with cameras, and the fact that footage usually lands in a cloud server, rather than on a tape.
When a third party maintains the footage on the cloud, it gives police the ability to seek the images directly from the storage company, rather than from the resident or business owner who controls the recording device. In 2022, the Ring security company, owned by Amazon, admitted that it had provided audio and video from customer doorbells to police without user consent at least 11 times. The company cited “exigent circumstances.”


I give my cam access to the internet when I travel. Outside of that it’s LAN only.
Luckily most NAS’s have software that can capture it and you can back it up to the cloud encrypted.
do you mind sharing a basic explanation about your setup? i’m looking at doing something similar with TrueNAS and NextCloud.
One way to get access, rather than a cloud solution, is to use a mesh network solution like WireGuard/Tailscale (and I’m gonna mention Hamachi on Windows, because I’ve used it since about 2005).
These solutions create an encrypted virtual network between devices that’s runs on top of whatever network you’re currently on.
In this way you’re never exposing you’re internal resources, in any way, to the internet*. Only other devices that are running the client app, using your encryption keys.
I’m currently running Tailscale on a desktop at home, all our mobile devices, and a Raspberry pi. I can connect to SMB shares on my home desktop from my phone, wherever I am.
I’ve kept my laptop in sync with my desktop at home this way (using Hamachi) since ~2005.
This approach means you’re always using LAN connection methods, rather than relying on a cloud you don’t control.
*With Wireguard/Tailscale you can expose specific resources to the wider world, but you have to specifically configure it.
Ah, yes. Tailscale. That’s a pretty obvious solution that I hadn’t considered… Thanks for the recommendation.
I’m just glad to have it. I used Hamachi for years and have been looking for a mobile client since 2010.
Glad Wireguard/Tailscale stepped up and are developing more.
That might be something I would consider but I doubt I have the know how
With Tailscale, very little know-how is required. Install the app on 2 devices, see it in action.
Depending on your home devices, you may need to enable Subnet Routing on a device that can run Tailscale, since the DVR/NVR may not have the capability.
A Tailscale Subnet Router will route Tailscale traffic to the LAN on which it resides, so you can access devices that can’t run Tailscale. For example, I’ve printed to my home wifi printer while remote. I’ve also used it to access a computer that didn’t have TS installed yet because I’d just set it up, and a digital photoframe that only supports SMB. My subnet router is a Raspberry Pi, because it’s always on. But it used to be my Windows desktop, because it’s always on.
Tailscale documents it all pretty well. You install your first client, in the process creating a TS account (which is used to automate the encryption key management). Then install to your second device, and ta-da, you have a TS Mesh network.
To enable Subnet Routing, you open the management console via one of your TS clients, it’ll open in a browser. Pick the device, check the box for Subnet Router, select the network (it’ll be a choice, only one, because it’s only on one LAN), and Bob’s your uncle.